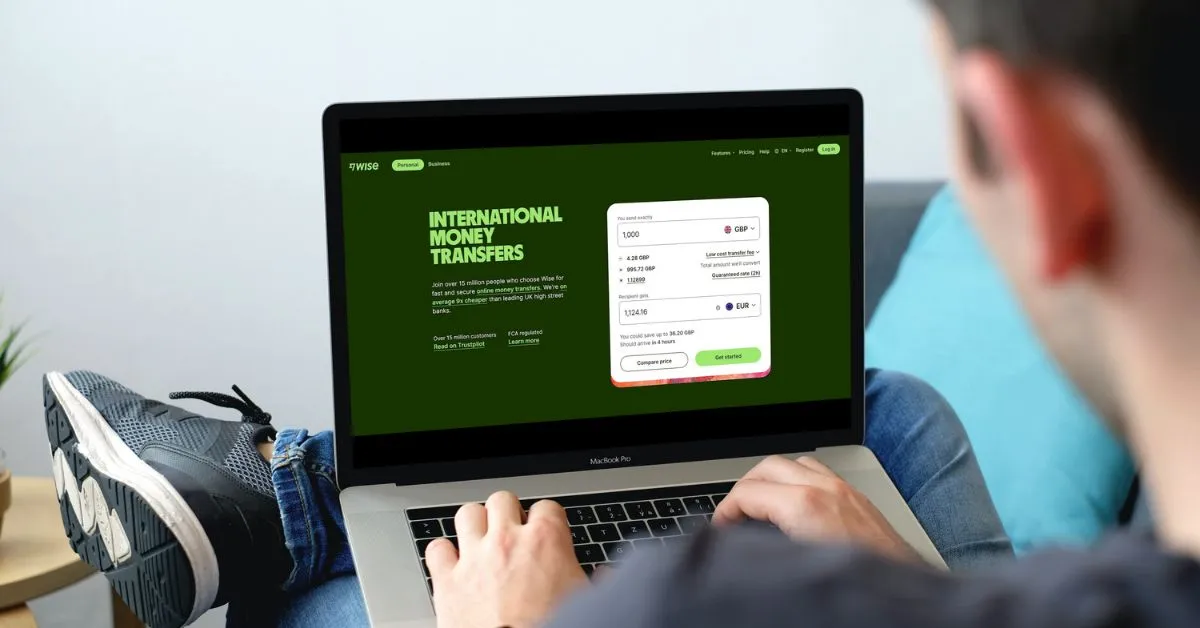
Searching for a multi-currency account? Let me introduce you to Wise Multi-Currency Account (formerly known as Wise Borderless Account).
It’s basically a digital multi-currency account making the life of travelers, entrepreneurs, and digital nomads easier!
In this guide, we’ll review Wise multi-currency account for individuals and businesses, how it works, the pros and cons, and so on.
But first, if you’re not familiar with Wise, we’ll give you information about them.

What Is Wise?
Wise is formerly known as Transferwise. It was created to help people send money abroad in a cheap and fast way.
As we mentioned above, you can have a multi-currency account with Wise and this is what makes this platform so popular.
If you wish to learn more about Wise, read our guide on how to use Wise.
You’ll find more information on them, as well as what you can do with Wise.
What Is The Wise Multi-Currency Account?
Having a Wise account mean that you have an electronic money account, that is not a bank account. We’ll get back to this bit later.
When you have a Wise electronic money account, it’s easy to create different accounts for multiple currencies.
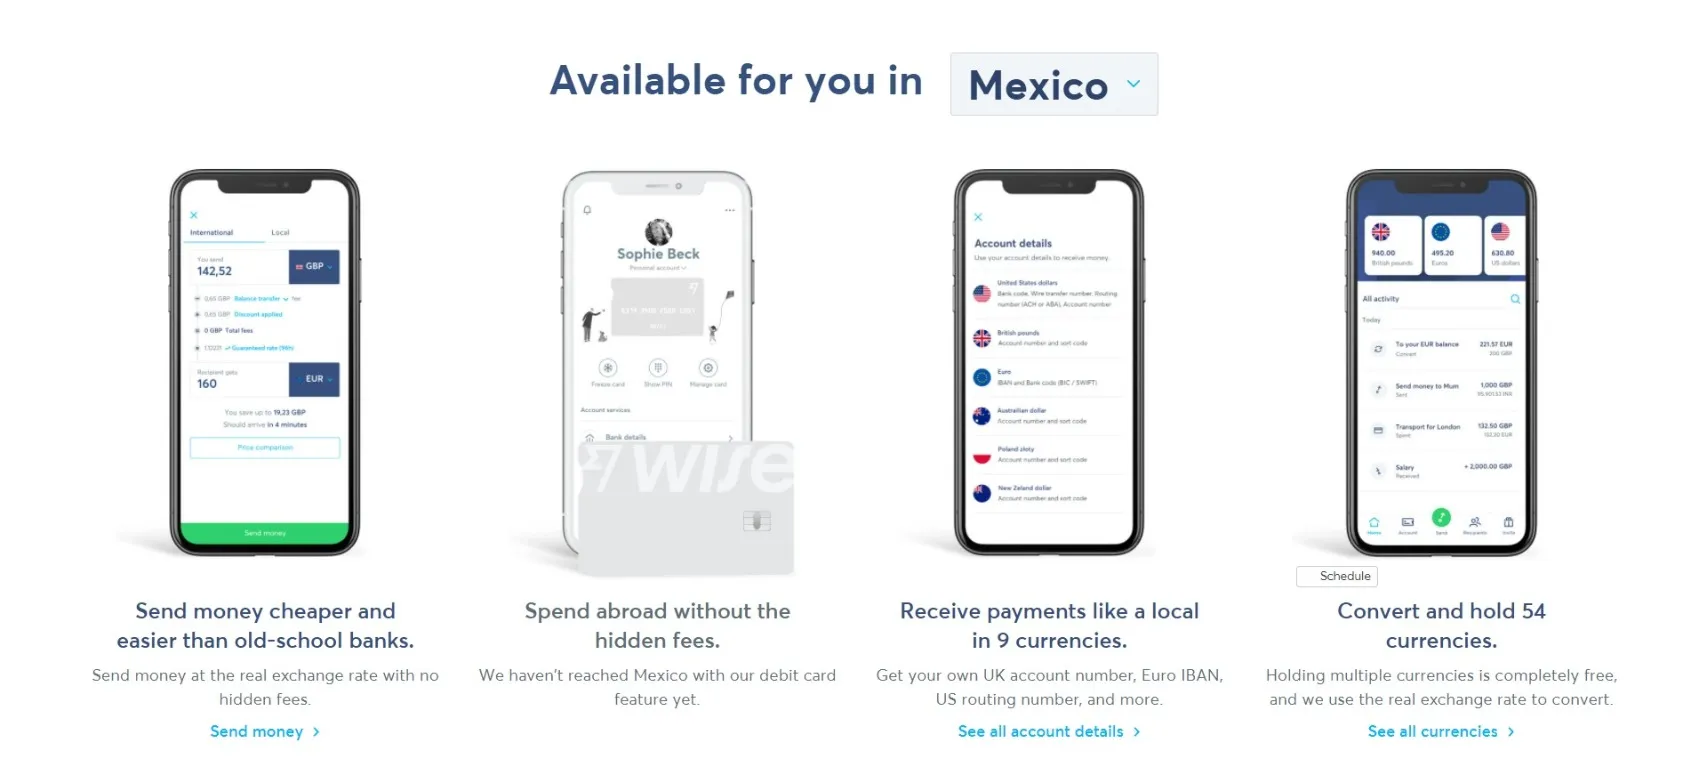
You can hold 40+ currencies, convert them easily, send money, receive money, and spend money.
Each currency has its own account with its own details. You can even order a Wise debit card, but these are only available in certain countries.
So, now you may be wondering what’s the difference between a bank account and a Wise account?
A classic bank account doesn’t always allow you to hold different currencies.
For example, as a Canadian, I can only have a CAD and a USD account with my current Canadian bank.
Every time I sent money overseas, I have to pay more because of expensive foreign exchange rates, and if I receive money, my bank takes a cut.
A Wise borderless account allows you to have multi-currency accounts, cheaper exchange rates as well as transparent fees.
You don’t get any unexpected fees when sending money overseas with Wise because you see exactly how much you’ll pay during the transaction.
On top of that, you don’t pay fees to receive money (but this depends on the currency).
That said, Wise safeguards your money but doesn’t offer services like loans, overdrafts, or interests like a classic bank would do.
Currencies Available On Wise
At the moment, Wise allows you to hold and convert money in 54 different currencies.
You can even open a new currency account in a few seconds.
Here’s the long list of currencies available on Wise at the moment.
- UAE dirham
- Argentine peso
- Australian dollar
- Bangladeshi taka
- Bulgarian Lev
- Botswana pula
- Canadian dollar
- Swiss franc
- Chilean peso
- Chinese yuan
- Costa Rican colón
- Czech koruna
- Danish krone
- Egyptian pound
- Euro
- British pound
- Georgian lari
- Ghanaian cedi
- Hong Kong dollar
- Croatian kuna
- Hungarian forint
- Indonesian rupiah
- Israeli shekel
- Indian rupee
- Japanese yen
- Kenyan shilling
- South Korean won
- Sri Lankan rupee
- Moroccan dirham
- Mexican peso
- Malaysian ringgit
- Nigerian naira
- Norwegian krone
- Nepalese rupee
- New Zealand dollar
- Peruvian sol
- Philippine peso
- Pakistani rupee
- Polish złoty
- Romanian lei
- Russian ruble
- Swedish krona
- Singapore dollar
- Thai baht
- Turkish lira
- Tanzanian shilling
- Ukrainian hryvnia
- Ugandan shilling
- US dollar
- Uruguayan peso
- Vietnamese dong
- West African franc
- South African rand
- Zambian kwacha
Who Can Open A Wise Multi-Currency Account
Lots of nationalities can open a Wise multi-currency account. You can see if it’s available in your country by clicking this link.
Then, you should see this text appears: Available for you in [current location].
You can click on the country and select another country in the dropdown menu if you’re currently traveling.
The only thing to keep in mind is that every account requires some kind of verification. To open an account, you’ll need to go through the verification process.
You’ll find more details on this further on.
How Much Does It Cost?
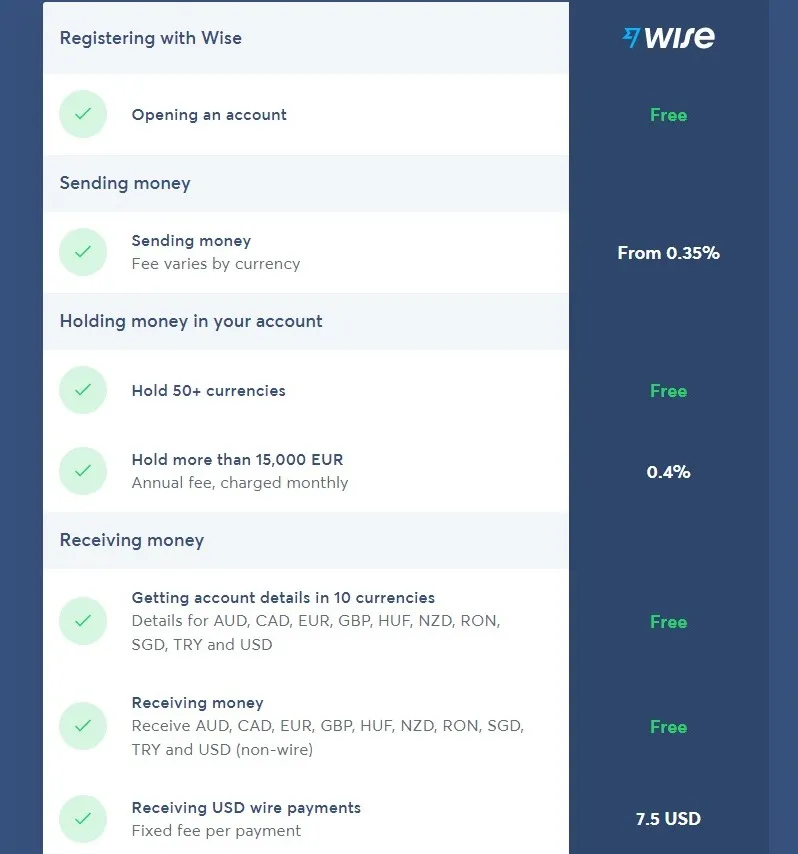
You can create a personal Wise account for free, but you’ll pay fees on some transactions. Let me explain.
Holding currencies, creating accounts, and receiving money (depending on the currency) are all things that won’t cost you anything.
But, sometimes, you’ll pay fees on conversion, ATM withdrawals, etc.
Below, you’ll find the current fees to pay.
What I like about Wise is the transparency.
You’ll know exactly how much you’ll pay in fees on every transaction you make.
How Does The Multi-Currency Account Work?
The first step is to create a personal Wise account.
- Click here to sign up. Choose your country of residence and write a password.
- Fill out all the personal information required and verify your account via the confirmation email Wise will send you.
- Verify your identity in two ways. Firstly, Wise will send you an SMS with a security code to your mobile phone. You’ll then be required to upload your passport or another form of official ID.
- Once your account is verified, you can add funds straight away. You can link your bank account to add funds via a bank transfer, or you can send money via a debit/credit card payment or through Apple Pay.
- Open as many accounts as you need choosing the currencies you want to hold.
- Wait for your Wise debit card to arrive in the post. In the meantime, you can share your multi-currency account details to start receiving your payments into your Wise account.
How To Use Wise Multi-Currency Account?
Once your Wise account is ready, you can send money, receive money, spend money, and hold money.
You can do this easily via your desktop or by downloading the Wise app.
Simply select an account to copy your account details, convert money to a different currency, or send it away.
Every time you send money, you’ll need to pick a type of transaction (I usually pick the balance transfer), accept the fee, and confirm the transaction.
Depending on the recipient, the transaction can be instant or take a few days.
You can find the exact steps to send money with Wise here.
Wise Multi-Currency Account For Business
As we mentioned at the beginning, you can also get a multi-currency Wise account for business.
When you’re logged in on Wise on a desktop, on the top right corner, you’ll find a button, and in the drop-down menu, you’ll see a way to create a business account.
You’ll be able to invoice your clients easily, hold different currencies as well as a Wise business card.
It makes the life of online entrepreneurs, digital nomads, and freelancers easy – especially for the ones doing business at an international level.
As my business is registered in Estonia (I’m an Estonia E-Resident), it was fairly simple to create a business Wise account.
Pros And Cons Of Using A Wise Multi-Currency Account
Now, let’s examine the pros and cons of using a Wise multi-currency account.
Pros
- Wise fees are transparent and cheap. You won’t get surprises because you’ll know exactly what the fees are when confirming every transaction.
- Wise transfers are fast (sometimes, they are even instant).
- Wise support is good and fast. I had to contact the business support once, and I had an answer within 24 hours.
- The wise multi-currency account is the perfect solution for expats, travelers, digital nomads, and entrepreneurs doing international business.
Cons
- Unfortunately, the Wise debit card is not available in all countries. This could be an issue for those who want to spend money with their multi-currency accounts. That said, you can still spend money in other ways without a card (paying invoices, sending money overseas, etc.)
- Some transactions can be held for extra verifications. Usually, it takes a few more days. I had to deal with this once, and I had to send them more information about the transaction for them to proceed.
Final Thoughts On Wise Multi-Currency Accounts
Wise is definitely my go-to account for most of my transactions. Whether I transfer money to my husband, to my Canadian bank account, or to my team – I always use Wise.
In fact, I’ve been using Wise since 2017. I started using it when I was living in Australia, and I wanted to transfer money to my Canadian bank account.
Although, I still need to use other bank accounts like Revolut, and Paypal for some transactions.
I prefer to use my Revolut travel card when I travel as the exchange fees are better for ATM withdrawals.
I still need to use Paypal to get paid with some of my clients.
Learn more about banks and digital banking solutions by reading one of the following guides:


