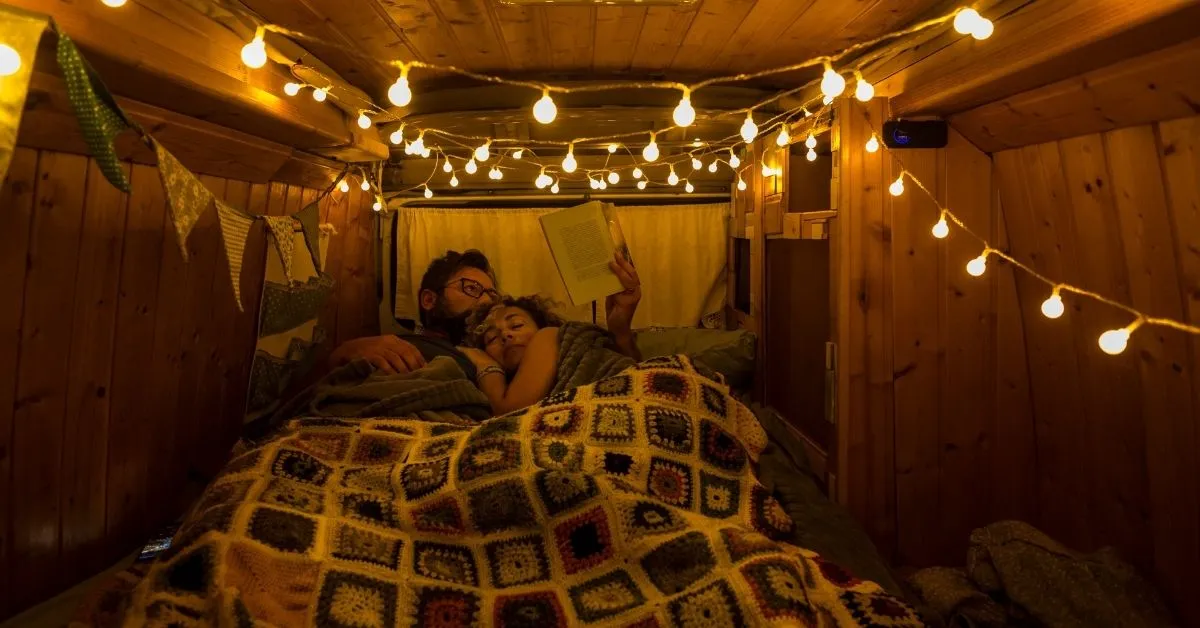
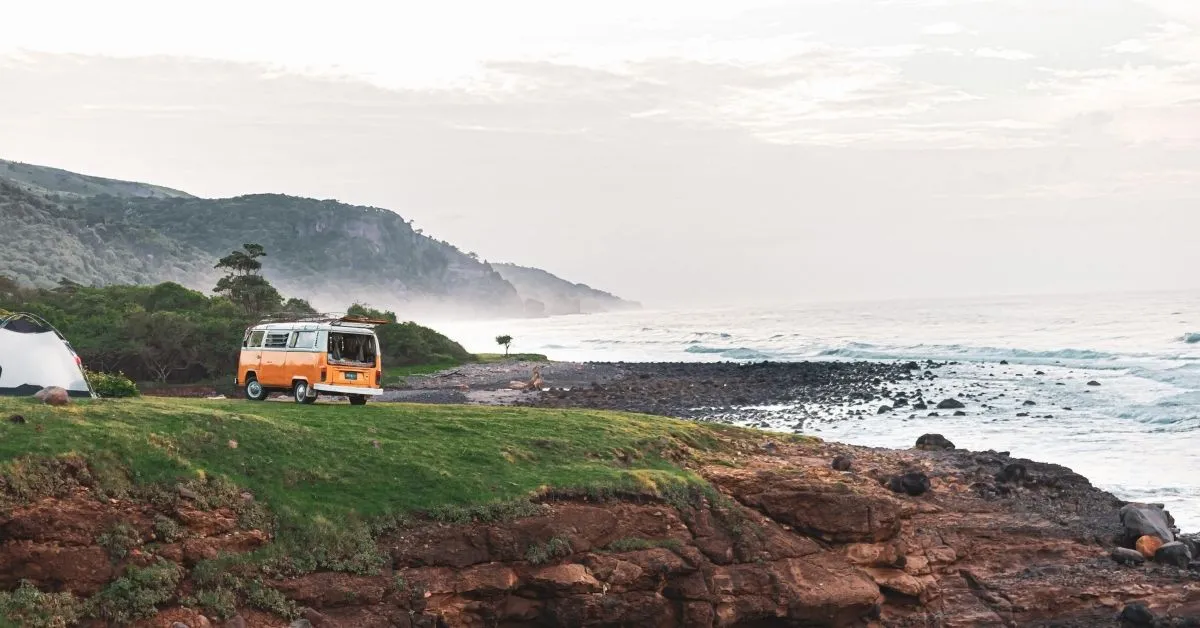
The cost to convert a van to a campervan can vary by quite a bit and depends on all kinds of factors. Professional van conversions – whilst the quickest and easiest option – can be quite expensive. They usually range anywhere from around $30,000 to well over $150,000.
DIY van conversions are obviously a lot more affordable, ranging from around a few thousand dollars up to an average of $15,000. Not only do you save on labor costs, but you can also spend time looking for the most cost-effective materials and equipment – even making use of recycled or reclaimed items.
Ultimately, you want a conversion that is as affordable as possible whilst giving you all the amenities and comfort you need. After all, your campervan should look and feel like a home from home!
In this guide, I’ll take a look at the types of expenses you should factor into the cost of a van conversion. I’ll also share my tips on how to save money wherever you can!
Note that depending on your location, costs can be higher or lower. There are lots of factors to consider, so keep reading to learn more about van conversions.
Campervan Conversion Costs
Let’s start with the costs involved for a campervan conversion.
The Van
Buying a new van would be ideal. It would come with the confidence of a warranty plus the enhanced performance of an up-to-date design. But – of course – it’s by far the most expensive option.
Should you wish to go this route, then you would probably opt for one of the three euro-style types of cargo vans – the Mercedes Sprinter, the Ford Transit, or the RAM Promaster.
If you plan on enjoying off-road adventures, then the Sprinter would be the best choice as it’s the only one with 4 wheel drive – a feature that also makes it the most expensive!
For most people, a brand new van is too expensive an option. A more affordable choice is an older, domestic van that has enough room to stand up in.
This means that it would need to have a high top. Alternatively, you could consider installing a hightop, although this will add at least a few thousand dollars to your campervan conversion cost.
When I was living in Australia, my friend and I bought an old van that was already emptied for about AUD 1500 and we transformed it into a campervan. It wasn’t big and it was quite small (we were not able to fully stand up), but it served the purpose of traveling around Australia.
Insurance
Usually, it is required to get insurance to be able to drive. While you’re doing your van conversion, you may not need car insurance right away. Although, it’s important to keep in mind that you’ll need insurance before you start your journey.
I compared car insurance here and I was able to find quotes from different insurance providers. I’d suggest you browse your options to find one that suits your budget and needs.
Labor
If you hire an expert to convert your van, then around 50% of the total cost of the conversion will go on labor. Should you choose to do the work yourself, then you are looking at spending around 4 to 6 weeks on the project, assuming that you can commit to it full-time.
Otherwise, you should allow 4 to 6 months for the conversion to be complete.
Obviously, labor is quite expensive, but you may need labor to outsource some of the tasks that you may not be able to do on your own.
Insulation
You need to think about the climate in which you will be using your van and make sure that the insulation you choose is suitable. Whilst spray foam is the cheapest option and very quick to use, it’s not always the healthiest choice and can be very messy.
That being said, it’s still worth having some on hand for those really narrow gaps where no other type of insulation will fit.
Ideally, you should consider using a natural and sustainable sheep’s wool product such as Havelock Wool for the van walls. Totally non-toxic, it is especially intended for use in campervans and is designed to control moisture.
This is an important consideration, as different weather conditions can cause a build-up of condensation. Your day-to-day activities such as cooking can also contribute to increased moisture levels too.
Sheep’s wool – which is resistant to mold and can even help muffle sound from outside the van – is very simple to work with and mouldable enough to stuff into any gaps.
You need something a bit more solid for the floor and ceiling, with foam board being the most popular choice.
Don’t forget the windows, as these can make up quite a bit of the total surface area of your van. There are many thermal window covers available or you can use a product like Reflectix. This can be installed facing outwards, to keep heat out – or inward, to keep heat in.
Set aside around $500 to cover the costs of insulation.
Walls And Ceiling
Since many of the walls of your campervan are on constant show, this is an area where you want to think carefully about the aesthetic you are going for – and not cut back too much on costs.
The good thing is that – since the overall area of the campervan walls is quite small compared to, say, a house – you can afford to splurge a little bit on the right materials.
Decide whether you want to achieve a light, airy look or want something more snug and cozy. Pick materials that are lightweight to work with and – if necessary – easy to paint.
The most commonly used materials for walls and ceilings are Luan (or Lauan) plywood, aluminum composite panels (ACP), or planks of shiplap or tongue and groove. Ensure that the ceiling material is as thin as possible, in order to give your van the maximum interior height.
Depending on the materials chosen, expect to spend around $300 on the walls and ceiling.
Cabinetry
The costs here can really vary, from relatively inexpensive if you use composite board, to much more extravagant if you go for something like premium hardwood. It’s worth spending a little more if you can, as hardwood is much more durable and less prone to denting.
Set aside anything from $300 to $500 for this, which should include cabinets, drawers, and the closet. Factor in the size and shape of your fridge before getting started (see below).
Flooring
When calculating the cost to convert a van remember that you will need both flooring and sub-flooring. Plywood is usually sufficient for sub-flooring, although you will need to invest in a mold control treatment and make sure that both sides are properly covered.
Don’t be tempted to skip this step as the development of mold could result in having to rip up and completely redo the flooring.
Laminate tongue and groove floors are often a popular choice for the top flooring. They are very easy to install which makes them ideal for DIY van conversions and they are very affordable too. You can get lots of different designs and colors so it is easy to find one to match your style.
Expect to spend around $200 to $300 on flooring.
Plumbing
This usually centers around the kitchen, as many people choose to not include a shower and toilet, using campsite facilities instead.
To install a kitchen sink – including the drain, strainer, and all the various plumbing components – expect to spend around $350.
If you want to have hot water coming from your tap, you will need a boiler installed inside the van, along with a flue to vent it. This can add to your costs quite considerably, so I haven’t included that or the costs of installing a shower, which will also require a more advanced water system.
Obviously, if you just want a van to sleep in, and prefer to cook your meals outside the van, you can simply buy camping equipment which is less expensive.
Electrical
This will probably be the most significant cost to convert a van to a campervan. Expect to spend anything from around $1,500 up to $4,000 for an off-grid solar setup capable of supplying enough electricity to power basic home accessories such as your fridge, lights, phone, fans, TV, laptop, and small kitchen appliances.
Getting your electrical systems set up can be dangerous if you don’t know what you are doing. Even if you have managed to do the rest of the conversion yourself, this is one area where it might be better to outsource the work.
Windows, Vents, And Skylight
Fitting these can be more simple than you might think, often requiring no more than a jigsaw and a drill. Depending on just what you need, you will probably need to spend around $600 for a window fixing fit and the necessary fans and vents.
Day To Day Equipment
There are lots more items you’ll need for inside the van and just what you decide to include is a matter of personal choice.
But there are a few items that are essential and that you will need to factor into your costs:
A bed – this can be a stationary bed, a fold-down bed, or a couch/bed. You need to make sure that air can freely circulate under the mattress to prevent the growth of mold. So you might want to consider using a Hypervent mattress underlay, which works at around $60 for a standard double bed.
A fridge – this may be one of the most expensive single items you buy. Depending on your needs, campervan fridges range in price from around $300 all the way up to $2,000.
Kitchen table – you can choose to build your own table or buy one pre-built. The shape and size you need will be up to you so there is no average cost here, but bear in mind that a DIY table can be built very cheaply, although you will need some skill if you want to make one that pulls out for a more flexible van layout.
Stove – there are lots of campervan stoves on the market and the one you choose will depend on things like available space, budget, indoor/outdoor cooking, single/dual burner, and the type of fuel. For a built-in stove, budget for around at least $300.
Van Conversion Money-Saving Tips
Now if you’re feeling overwhelmed with the costs involved with your van conversion, you’ll be happy to know that there are alternatives and ways to save money.
Below, you’ll find money-saving tips to help you save a bit of money during your campervan conversion.
- Search for a used van that may already be modified in the way you need, or that you know has been serviced regularly. Fleet vehicles such as delivery vans can be good as they tend to be retired early and are well maintained throughout their working life.
- Do as much of the work as possible and only outsource jobs you truly can’t manage, or that require particular expertise (especially electricals).
- Remember that you will only have a limited amount of space. Make a list of things that are truly important and avoid buying items you can live without.
- Use second-hand or recycled materials as much as possible. Check social media for people giving materials away, or place an ad yourself!
- Opt for a propane stove over an electric one. Do remember, though, that this will require proper ventilation and that you will also need propane and carbon monoxide detectors for safety.
- Use cheaper materials to build walls in areas that won’t be seen, such as behind the kitchen cabinets. You could simply use plywood, then stain it with an appropriate color.
- Connect with others who may be undertaking a similar conversion, so that you can share the costs of items that have to be bought in large packs – even though you may only need a fraction of them.
- Recoup some of your build costs by renting out your newly-renovated campervan to others.
That said, in countries where van life is popular, you may be able to find vans that have been already converted easily. Alternatively, you can rent one if you wish to try this lifestyle first.
It always comes down to the comfort needed. If you’re happy with a van that simply fits a bed – you can get away with it with a few thousand dollars.
Final Thoughts On Van Conversion
I hope this guide has given you a clearer picture of the cost to convert a van to a campervan.
Whilst it’s good to save money by doing the work yourself, don’t forget to pay attention to those little details that will make your van as comfortable as possible, and the perfect place to come home to after a day of outdoor adventures.
Thinking a van conversion may be too expensive? I get you. This is exactly why many travelers will simply add a bed into their van and go to camping sites.
Need more camping inspiration? Click on one of the blog posts below.

