Thinking of traveling to Sri Lanka soon? Make sure you get the right tourist visa before you get there. In this post, I’m showing you how easy and quick is the visa application process for Sri Lanka.
I applied for my Sri Lanka visa online with iVisa and I received the approved visa within one hour. This is what I call fast visa services.
Ready To Travel? Don't Go Without Travel Insurance.
I recommend SafetyWing Nomad Insurance, an affordable travel insurance offering automatic monthly payments that you can cancel anytime. I've been using it since 2019, and I can assure you it's the perfect solution for nomads like you and me. Learn more by reading our SafetyWing review.Before we start, let’s discuss if you need a visa, the costs and the steps to apply on your Sri Lanka visa using iVisa.
Do You Need A Visa For Sri Lanka?
Before starting the visa process, you will need to find out if you need a visa to visit Sri Lanka. Since 2012, Sri Lanka requires more nationalities to have an ETA (Electronic Travel Authorization), but you can double-check using the tool below.
How Much Is A Visa For Sri Lanka?
Fun fact: there’s no visa cost but there’s a processing fee. It’s quite cheap – it only costs USD 20 to process your visa. The average processing time is 30 minutes.
The tourist visa gives you 30 days per entry and you will get two entries.
Online Visa Application For Sri Lanka
The visa application for Sri Lanka is very easy and quick. To help you prepare all your documents, here’s what to expect when it comes to the Sri Lanka visa application process.
Step 1: Go to iVisa
Go to iVisa to start your visa application process. You can select your nationality and Sri Lanka for your destination.
Step 2: Select the tourist ETA
You will see two visa types appear. You can select the Tourist ETA option.
Step 3: Add your personal information
You will have to add some information such as name, nationality, email address, travel dates, and phone number.
Step 4: Add your passport information
You will have to provide information regarding the validity of your passport.
Step 5: Review your information
You will have to confirm all your information.
Step 6: Pay the processing fee
You will have to pay the $20 fee using a credit card or one of the payment methods listed below.
Step 7: Wait for the visa
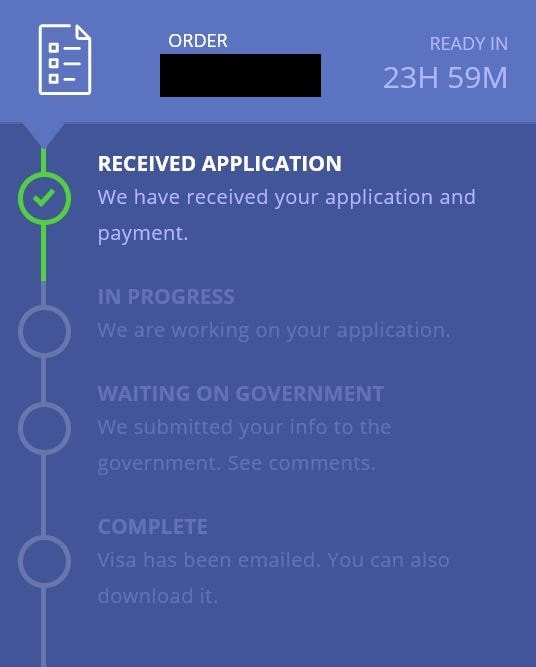
You will get a confirmation email including one confirmation number so you can track your order. It can take up to 24 hours to receive the visa.
Step 8: Visa Approved
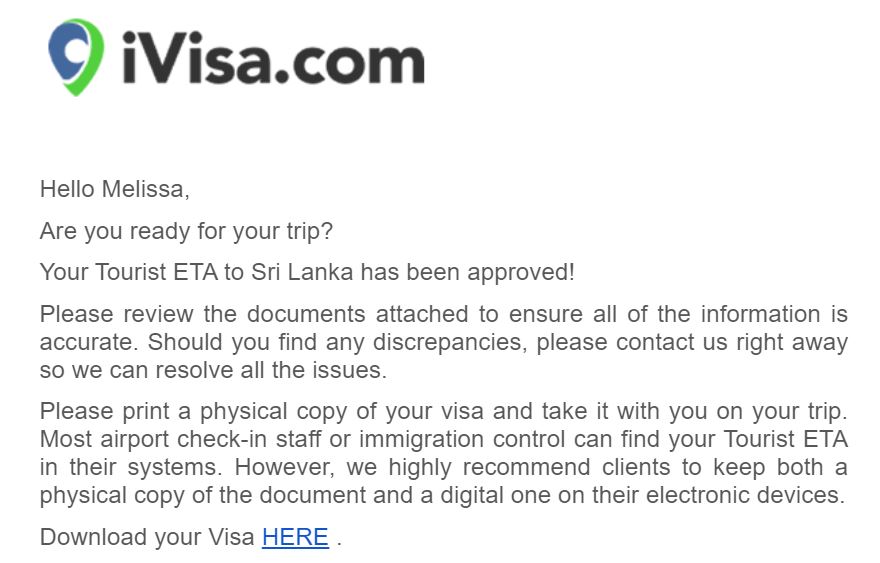
Once the visa is approved, you will get an email with the document as well as information about the visa. I received mine within one hour. (I was ordering two visas, so I reckon this is super fast!)
As you can see, iVisa provides fast and easy visa services for Sri Lanka. Make sure to read our Sri Lanka itinerary.


