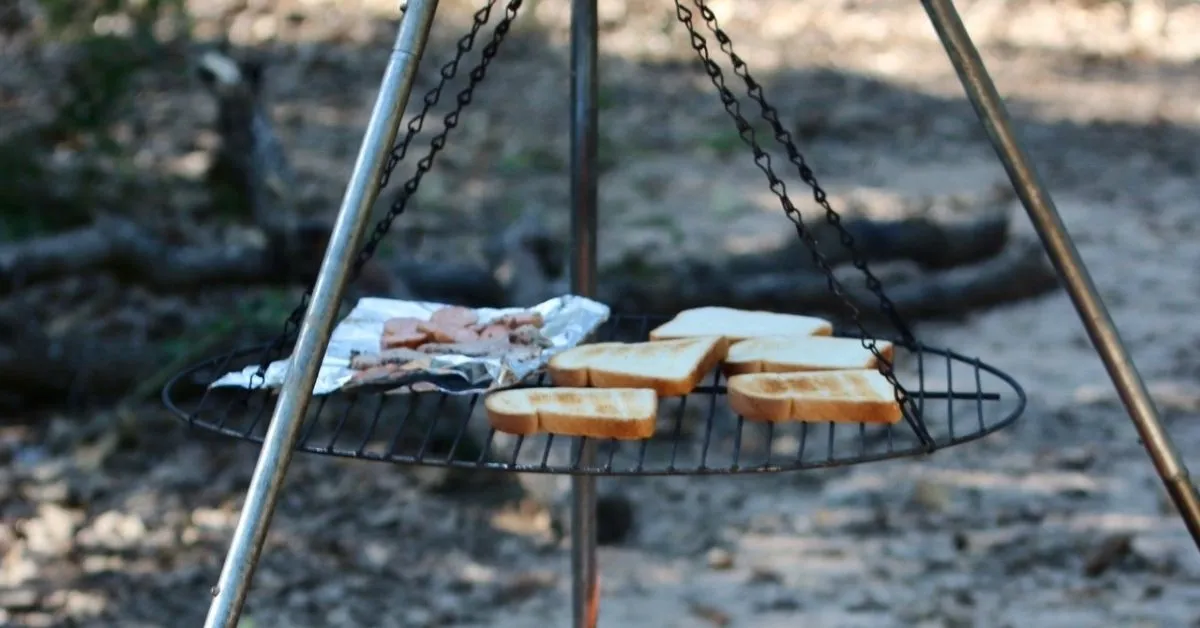
Let’s face it; you simply can’t beat toast for breakfast.
So whether you’re a classic toast and butter lover or you like to lather warm, crispy bread with sweet condiments, you shouldn’t be denied this pleasure while camping.
So how do you make toast without a toaster, you may ask?
You’ll be surprised to learn there are a few ways you can warm your bread at your campsite.
So, read on to discover the best ways to make camping toast, which camping toaster to use, and how to ensure you don’t end up with burnt bread.

1. Use A Camp Toaster
If you’re serious about your breakfast toast, you may want to buy a camp toaster to take on your camping trips.
Camp toasters work over a heat source like a camp stove, and there are a few different styles available.
I find using a camp toaster one of the best camping toast methods to get evenly toasted bread.
Although it’s an additional expense, they are incredibly affordable, so a camp toaster is well worth the small investment if you have the space.
Best Camp Toaster
My favorite toaster for camping is the GSI Outdoors Glacier Stainless Steel Toaster.
This camp toaster has a unique design; it’s a small stainless steel box with a mesh bottom that helps to distribute heat.
It is also very compact and portable. It weighs just 0.4 pounds and folds up for easy packing.
Directions
- Turn on your camp stove burner.
- Unfold the camp toaster as necessary and place it over your burner, mesh side down.
- Lay your bread flat over the wire racks on the top of the box.
- Use a spatula to check on your toast’s progress and flip the bread over once the bottom is brown.
- Toast the second side, then remove the toaster from the burner and prepare your breakfast.
2. Use A Pie Iron
A pie iron is another popular tool that campers use to make camping toast.
This versatile piece of camping equipment is essentially a cast-iron box attached to long metal rods.
It offers a safe way to cook over a campfire as your hands stay far from the fire when holding it, minimizing the chance of getting burnt.
This also allows you to safely rotate your bread in the pie iron without leaning over the fire.
Pie irons also produce excellent toasted sandwiches, so you could even pimp up your camping breakfasts by making campfire cheese toasties.
One downside of making camping toast in a pie iron is that moisture can build up inside it when closed, resulting in more sogginess than crunchiness.
To prevent this, you can try keeping the pie iron open while cooking, just using one half. You’ll need to flip your bread halfway, though, to toast both sides.
Best Pie Iron
I like Coghlan’s Cast Iron Cooker & Broiler. It has a long 27-inch handle, so it always feels exceptionally safe to use.
They also sell both single and double sizes. The double is super helpful as it lets you toast two slices of bread at once (or make two toasties!).
It’s also highly durable and can withstand the high heat of coals and flames.
Directions
- Open the pie iron and coat the inside with a thin layer of oil. I find vegetable oil works the best in a pie iron.
- Put your bread inside and close the pie iron. Alternatively, for crisper toast, keep it open and use one side.
- There are two ways to cook your toast in a pie iron. You can hold it over the flames, or you can place it between the hot coals.
- Rotate your toast as needed. If cooking in an open pie iron, check for browning on the bottom side, then flip over to cook the other side.
- Remove from heat and enjoy!
3. Use A Skillet Or Grill Pan
Yes, you can also make toast using a pan over your camp grill or simply put your bread directly on the grill.
We recommend using a cast-iron skillet or grill pan to avoid half your bread slice sticking to the pan! With this method, you need to be cautious of the heat of the fire.
You might need to shuffle the skillet on and off the fire to reduce the amount of heat coming into the pan. If the pan (and bread) heats up too quickly, it will burn.
Another thing to watch out for is hot spots. This method of toasting can result in uneven camping toast, so again, shuffle the bread in the pan to ensure each part gets some of the heat.
As long as you keep your eye on it at all times and move it around frequently, it’s pretty easy to create great toast using a skillet or pan.
The last consideration with using a skillet as a camping toaster is the oil quantity. Without oil, the bread will burn and leave a hard-to-clean mess in your pan.
However, too much will soak your bread and make it more soggy than crispy.
To avoid using too much oil, we apply a thin layer to the pan using a paper towel rather than pouring it directly in.
Best Camping Skillet
I love to make toast in this Cast Iron Non-Stick Grill Pan when camping as it distributes heat well and doesn’t fluctuate as much as with aluminum pans.
Therefore, you get a more evenly cooked slice of bread. The rectangular shape and 24x26cm size allow you to toast two slices of bread at once.
I also love the wooden handle that protects your hand from burning. What’s more, you can fold it in towards the pan for easy storage, making it an excellent toaster for camping.
Directions
- Put a thin layer of oil in the pan BEFORE putting it over the campfire. You can also use an aerosol oil spray.
- Place your pan on your camp grill and put one slice of toast in the center of the skillet.
- Use a spatula to lift regularly and check the bottom looking for hotspots. Keep shuffling or moving the bread around the pan until the bottom turns brown.
- Flip your toast and repeat the above step on the other side.
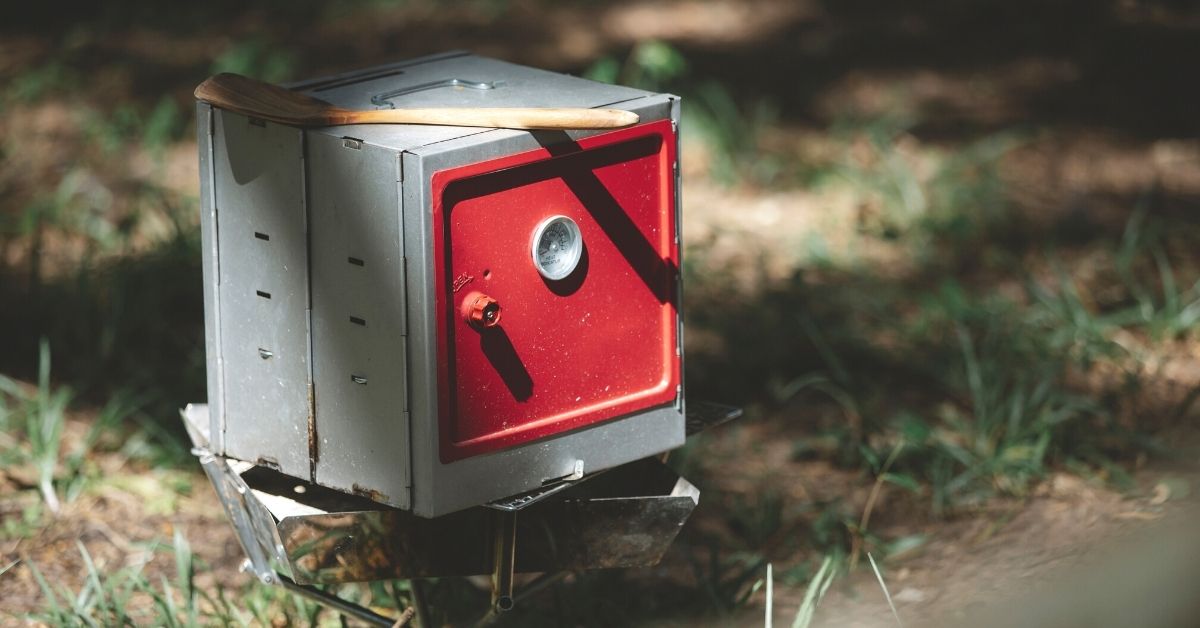
4. Use A Camp Oven
If you’re a frequent camper looking for ways to improve your camping meals, you might want to invest in a camp oven.
A camp oven is similar to a dutch oven and specifically designed to fit over a camp stove burner and withstand the heat of campsite flames.
While buying a camp oven only to make toast might seem a bit unnecessary, this cooking tool is highly versatile.
You can use a camp oven to bake all sorts of sweet treats such as cakes and muffins and cook comfort foods like nachos and burritos.
So if you’re an avid baker or chef and want to put your skills to the test at the campsite, a camp oven makes a great addition to your camping equipment.
Another fantastic feature of many camp ovens is that they fold up for easy storage and portability.
So, you can take a stove with you on your next camping trip without having to transport a heavy and bulky item.
Best Camp Oven
Not all camp ovens on the market are high quality, but the Coleman Camp Oven is exceptionally reliable.
If you have a Coleman propane or liquid fuel camp stove, this will fit perfectly on it.
You can adjust the inside rack to three different levels, and the aluminum steel construction is corrosion-resistant.
It weighs just 7 pounds, and you can easily fold it down for compact packing.
Directions
- Unfold your camp oven and place the rack inside. I find the mid-level gives the most even toasting.
- Ignite your camp stove burner and wait until it reaches 350 degrees Fahrenheit.
- Place your bread directly on the middle rack and cook for roughly 10 minutes, flipping halfway.
5. Toast Directly Over The Fire With Tongs
If you have no equipment or are just feeling lazy, you can attempt to toast your bread directly over an open fire like you would with marshmallows.
For this, you’ll need a camp fork or tongs with an extended handle to avoid burning your hand.
I recommend Kooalo Extendable Roasting Sticks. You can extend these forks from 11 inches to 32 inches, and they are made from food-grade, rust-free stainless steel.
Then, once your toast is ready, you can slowly retract the fork back towards you to claim your breakfast.
Toasting bread directly over the fire is not the safest way to make toast when camping, but it can work and may even be quicker than using a toaster!
Final Thoughts On Camping Toasts
So, if you’ve been wondering how to make toast without a toaster when camping, now you know.
With so many ways to make your favorite breakfast at the campsite, there’s no reason why you cannot enjoy that crispy texture and mouth-watering aroma in the wilderness.
For some more camping inspiration, check out the following guides:


